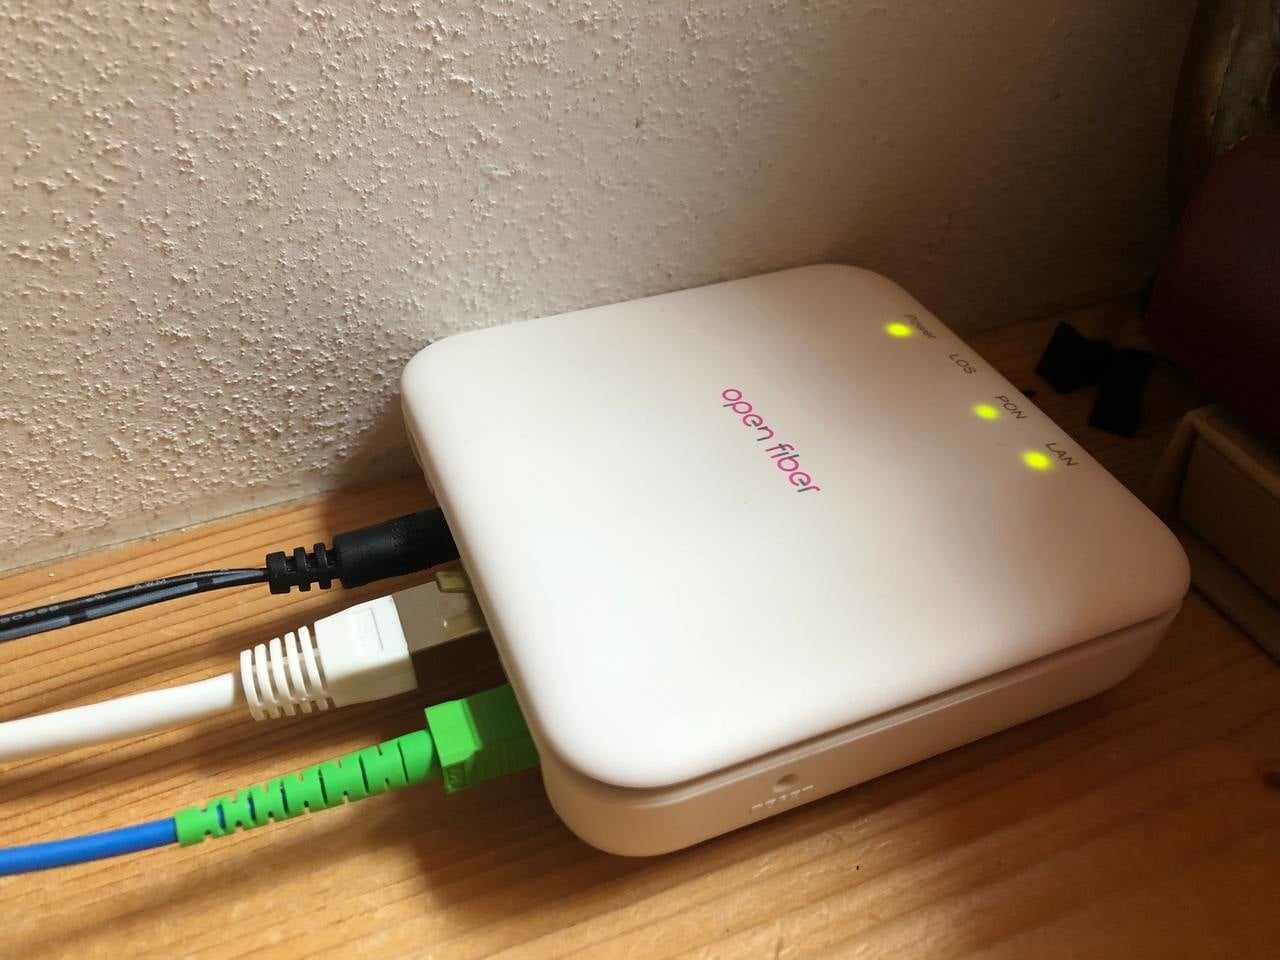
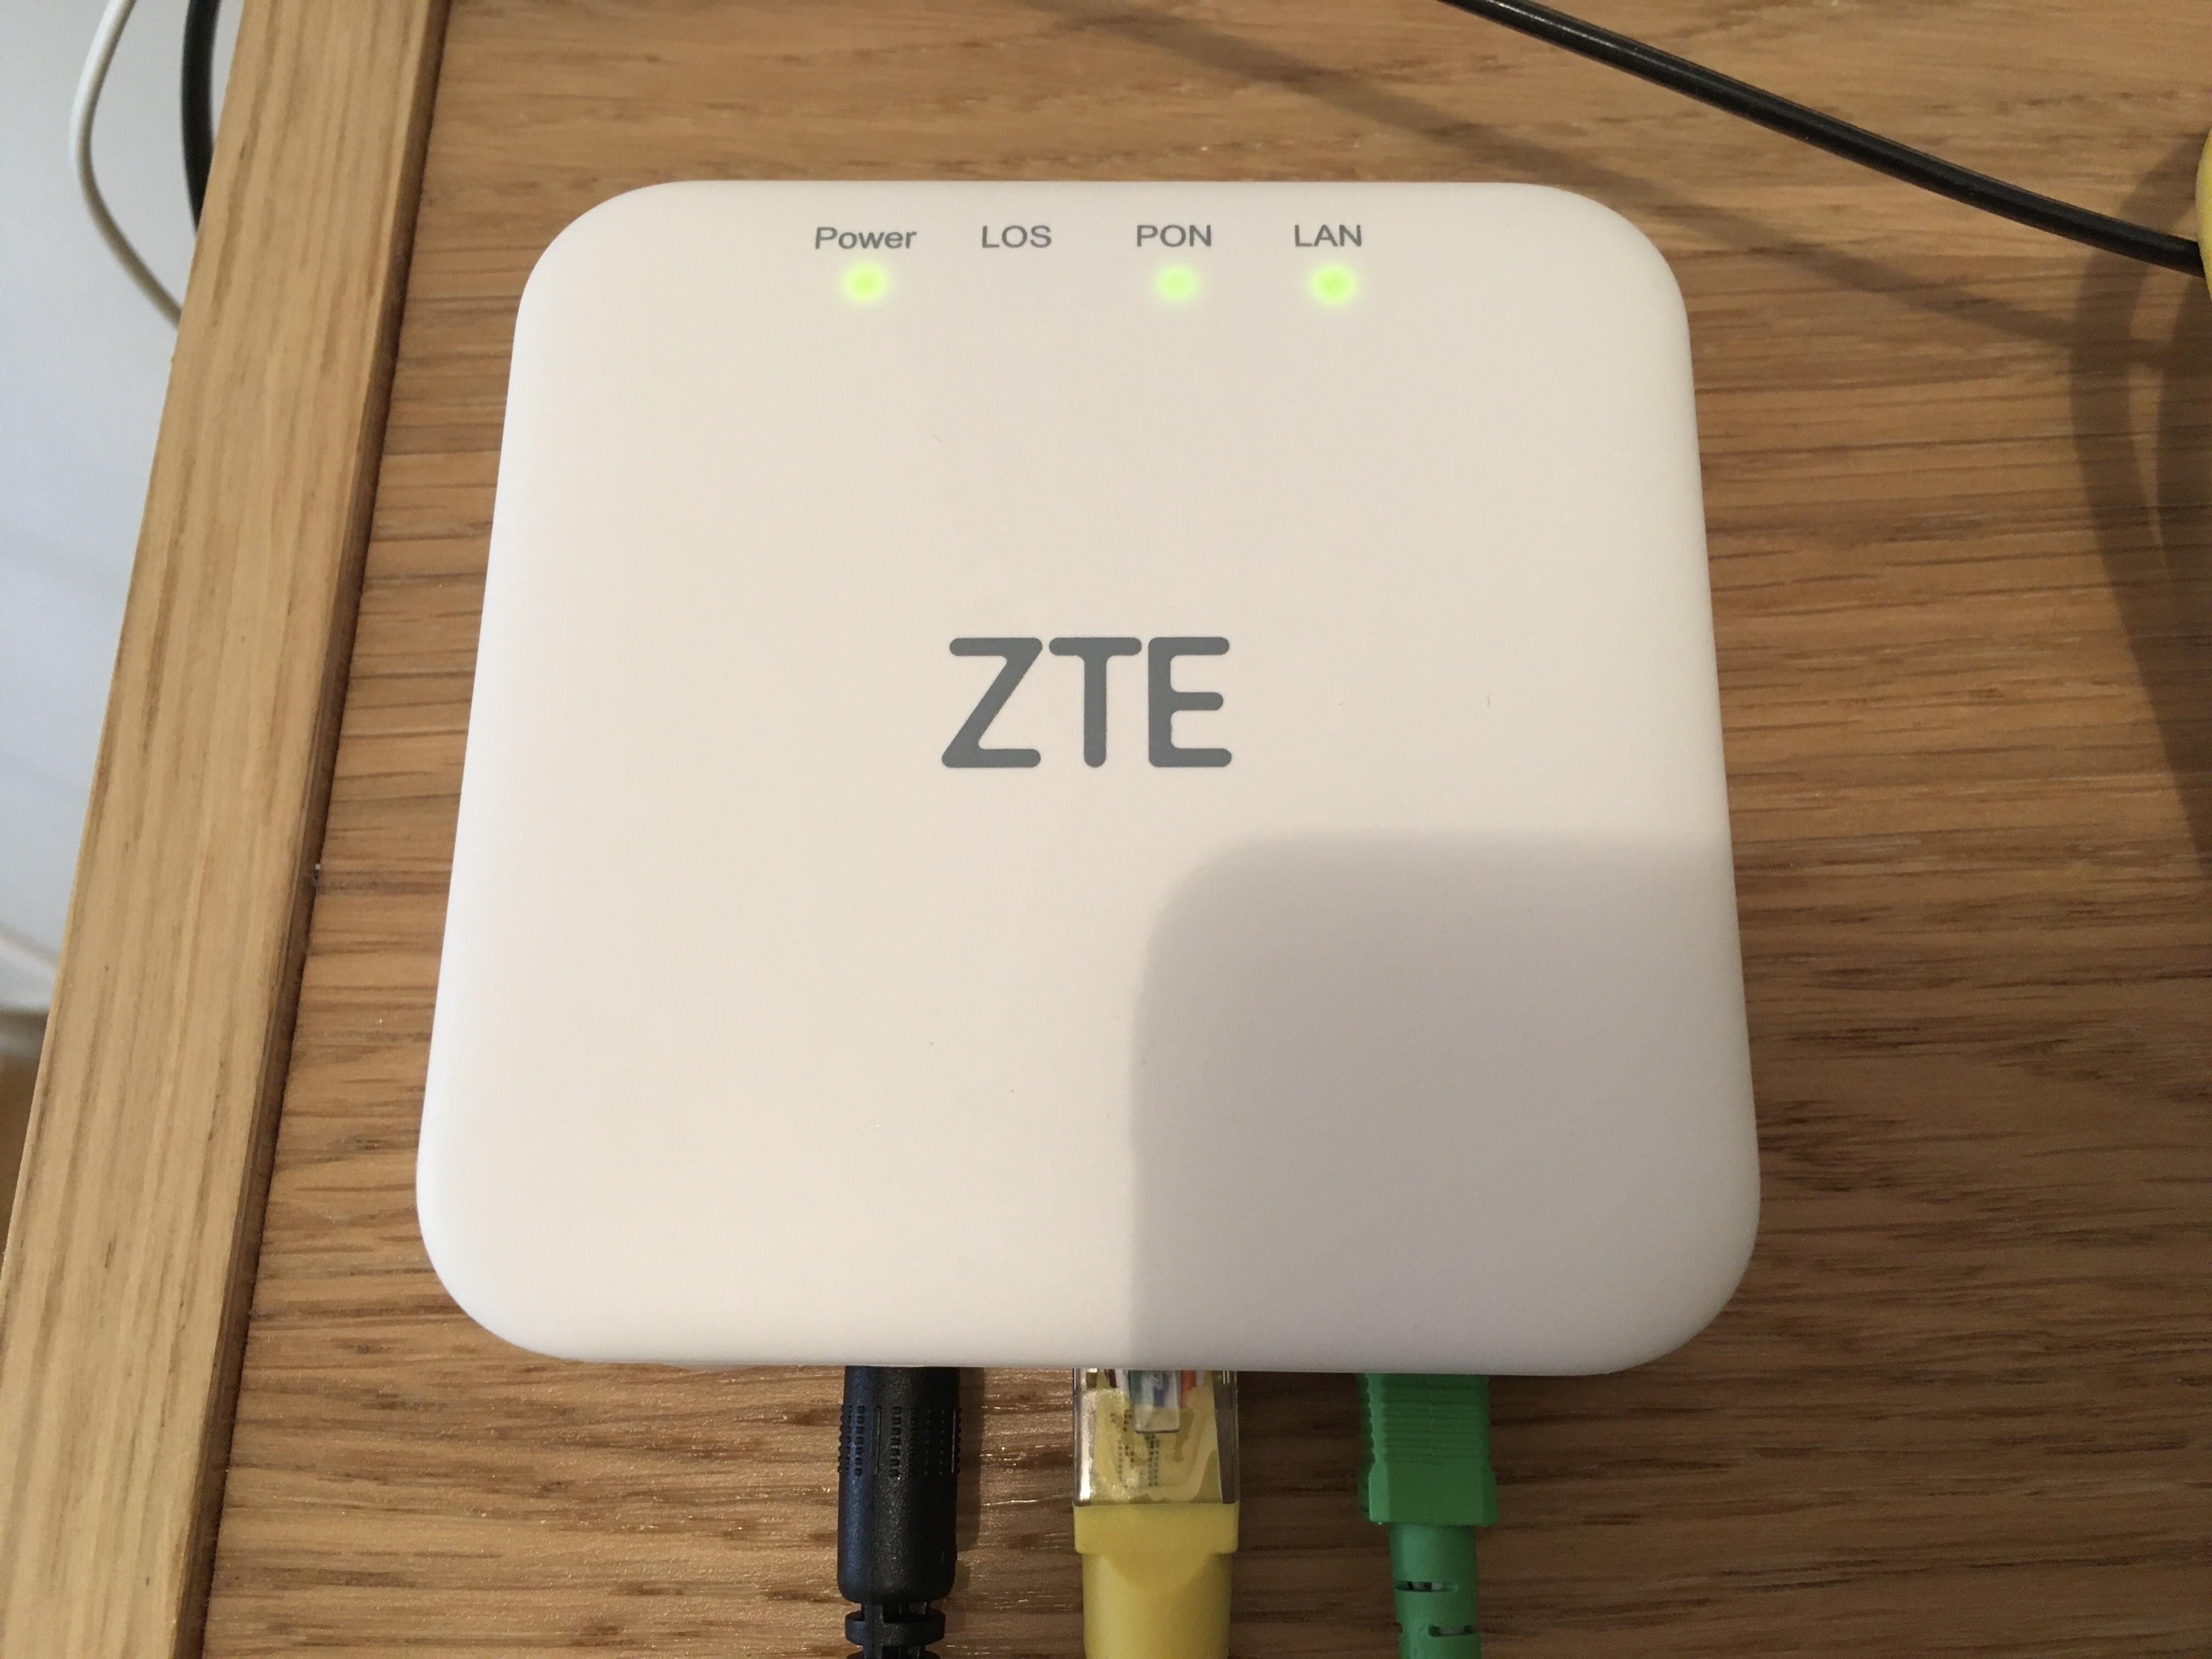
ZTE F6005
Hardware Specifications
| Vendor/Brand | ZTE |
| Model | F6005 |
| ODM | CIG |
| ODM Product Code | G-97CP |
| Chipset | Realtek RTL9601D |
| Flash | 16MB |
| RAM | 32MB |
| System | Linux (Luna SDK 1.9.0) |
| 2.5GBaseT | Yes |
| Optics | SC/APC |
| IP address | 192.168.1.1 |
| Web Gui | ✅ user admin, password admin |
| SSH | |
| Telnet | |
| Serial | |
| Form Factor | ONT |
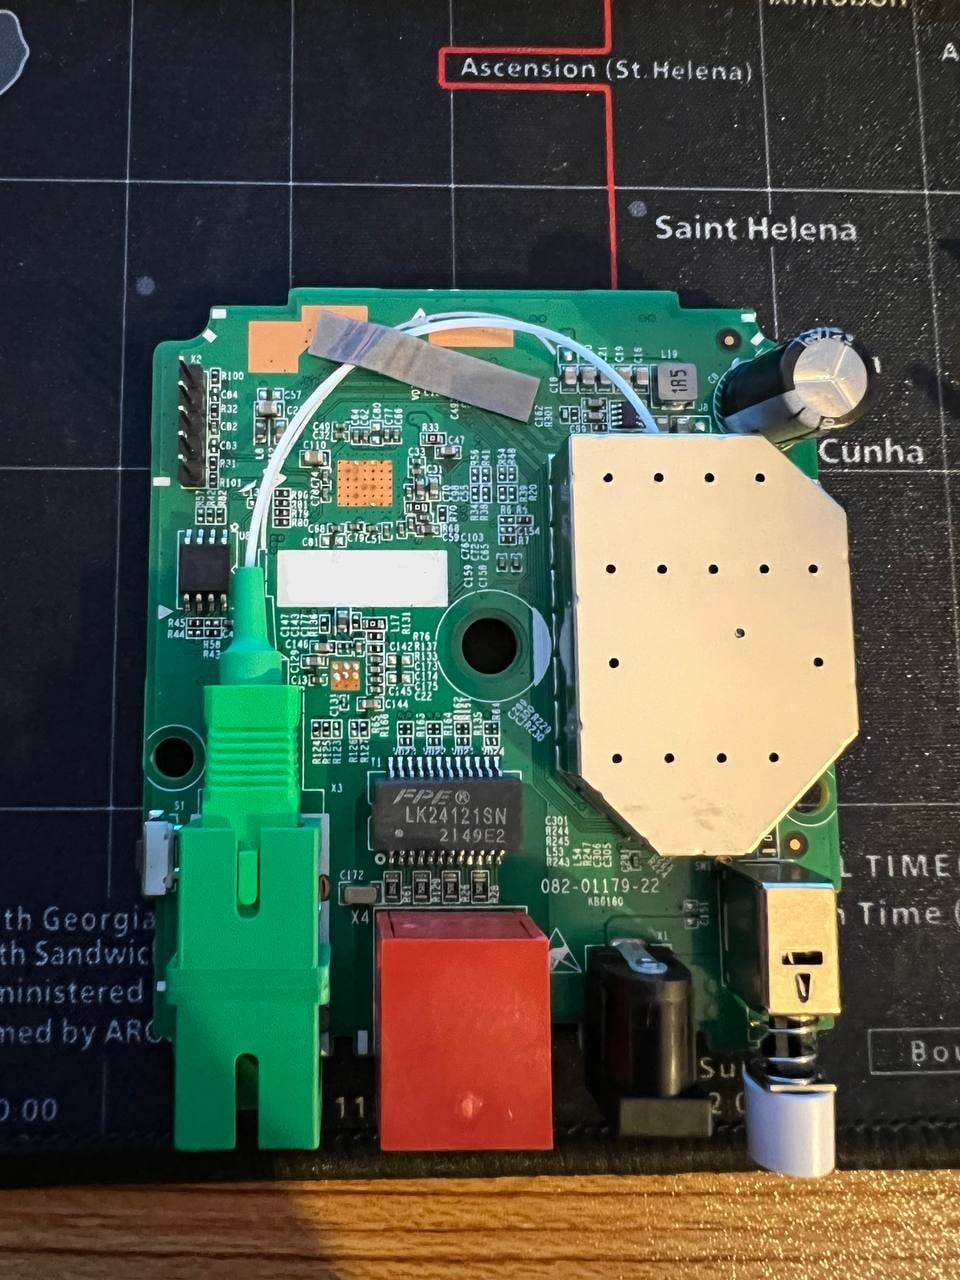
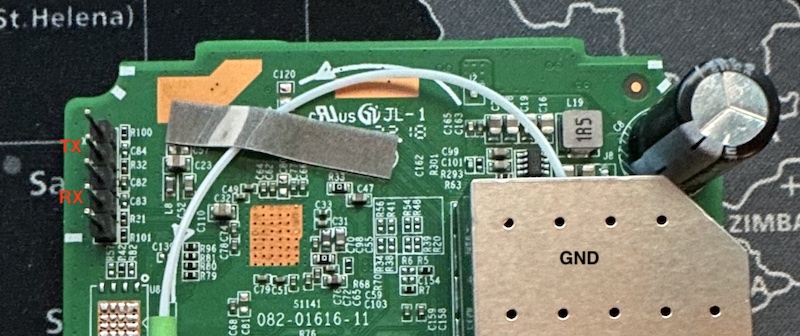
Serial
The ONT has a TTL 3.3v UART console (configured as 115200 8-N-1) that can be accessed from the top surface. To accept TX line commands, the GND of the TTL adapter should be attached to the ONT’s shield:
List of software versions
- V6.0.10N14 (TIM)
- V6.0.10N20 (TIM)
- V6.0.10P2N02 (OpenFiber)
- V6.0.10P2N18 (OpenFiber)
- V6.0.10P2N19 (OpenFiber)
Usage
Accessing Full Shell
To access a complete linux shell just type:
#ONT>system
#ONT/system>shell
To exit the shell and reach the parent menu type exit or x, in each menu the help command will show how to use the shell
GPON ONU status
Getting the operational status of the ONU
#ONT>traffic
#ONT/system>pon
#ONT/system/pon>show link

 ----------------- LINK STATE -----------------
 Link State:              ACTIVE
 Operation State Machine: OPERATION (O5)
 ----------------- STATE  END -----------------
Querying a particular OMCI ME
#ONT>system
#ONT/system>mib
#ONT/system/mib>show 256
Table Ontg, Ont-g, total 1 instances

EntityID                  = 0x0000
VID                       = "ALCL"
Version                   = AA BB CC DD EE FF 11 22 33 44 55 66 00 00
SerialNum                 = AA BB CC DD EE FF 11 22
TraffMgtOpt               = 0
AtmCCOpt                  = 0
BatteryBack               = 1
AdminState                = 0
OpState                   = 0
OnuSurvivalTime           = 0
Loid                      = ""
Password                  = ""
AuthState                 = 0
OntState                  = 1
GPON/OMCI settings
Committing changes to the OMCI MIB tables for GPON operation
#ONT>system
#ONT/system>mib
#ONT/system/mib>reset
Getting/Setting ONU GPON Serial Number
#ONT>system
#ONT/system>misc
#ONT/system/misc>eqsn set "ALCL00000001"
---ATECMDRESULT--- OK
#ONT/system/misc>eqsn get
eqsn: ALCL00000001
---ATECMDRESULT--- OK
Getting/Setting PLOAM
#ONT>system
#ONT/system>misc
#ONT/system/misc>pon_passwd set "123456789"
---ATECMDRESULT--- OK
#ONT/system/misc>pon_passwd get
pon_passwd: 31323334353637383900
---ATECMDRESULT--- OK
#ONT/system/misc>register_id set "123456789"
---ATECMDRESULT--- OK
#ONT/system/misc>register_id get
pon_passwd: 31323334353637383900
---ATECMDRESULT--- OK
Setting OMCI software version (ME 7)
The following command must be typed into the standard linux shell:
# echo SWVER=3FE49337AOCK80 > /mnt/rwdir/sys.cfg
Getting/Setting OMCI hardware version (ME 256)
#ONT>system
#ONT/system>misc
#ONT/system/misc>eqvid get
eqvid: 3FE45458ABAA06
hex_eqvid: 0x3346453435343538414241413036
---ATECMDRESULT--- OK
#ONT/system/misc>eqvid set "YOUR_CUSTOM_VID"
Getting/Setting OMCI vendor ID (ME 256)
#ONT>system
#ONT/system>misc
#ONT/system/misc>vendor get
vendor: ALCL
---ATECMDRESULT--- OK
#ONT/system/misc>vendor set "ALCL"
---ATECMDRESULT--- OK
Getting/Setting OMCI equipment ID (ME 257)
#ONT>system
#ONT/system>misc
#ONT/system/misc>eqid set "YOUR_CUSTOM_EQUID"
---ATECMDRESULT--- OK
#ONT/system/misc>eqid get
eqid: YOUR_CUSTOM_EQUID
hex_eqid: 0x594F55525F435553544F4D5F4551554944000000000000
---ATECMDRESULT--- OK
Getting/Setting MAC address
mac1 = Lower MAC ID (printed on label)
mac2 = Upper MAC ID (usually = mac1+3)
#ONT>system
#ONT/system>misc
#ONT/system/misc>mac1 get
mac1: aa.bb.12.34.56.78
---ATECMDRESULT--- OK
#ONT/system/misc>mac2 get
mac2: aa.bb.12.34.56.7b
---ATECMDRESULT--- OK
#ONT/system/misc>mac1 set 12:34:56:11:22:33
---ATECMDRESULT--- OK
#ONT/system/misc>mac2 set 12:34:56:11:22:44
---ATECMDRESULT--- OK
Advanced settings
Setting management IP
#ONT>system
#ONT/system>misc
#ONT/system/misc>admin_ip get
admin_ip: 192.168.100.1
---ATECMDRESULT--- OK
#ONT/system/misc>admin_ip set 192.168.1.1
#ONT/system/misc>admin_mask get
admin_mask: 255.255.255.0
---ATECMDRESULT--- OK
#ONT/system/misc>admin_mask set 255.255.255.0
Advanced settings
Unlock serial to flash another firmware
This ONT is the twin brother of CIG G97-CP, if you can find its bootloader (named CIG_bu.en_V3.09.15), you can easly repack the firmware and enable its serial port limited to bootloader. You need a 3.3V SPI programmer (like a modded CH341a) to read and write back the flash.
After getting a full dump of your ONT, here is the procedure to replace the original bootloader with CIG’s to enable the serial port:
Cut old bootloader:
dd if=flash_dump.bin of=no_boot_flash_dump.bin bs=1 skip=184064
Attach the new one:
cat CIG_bu.en_V3.09.15 no_boot_flash_dump.bin > mod-boot_flash_dump.bin
Now you can flash the file mod-boot_flash_dump.bin back to your SPI.
After powering up the ONT, the serial port will print this message:
**************************************
*                                    *
*  KEY -- Enter console terminal     *
*                                    *
**************************************
To access full U-Boot a special escape sequence is needed.
If Tera Term is used, create a simple MACRO file that contains this code:
send $1B $1D $0F $0B
Configure Tera Term with the correct serial parameters (refer to Serial paragraph), select the created MACRO file BEFORE powering up the ONT but DON’T OPEN IT NOW, power-up the ONT and when you see the above message, quickly open the macro to reach the U-Boot prompt:
9601D#
Now with the U-Boot prompt a custom firmware that enables TELNET can be flashed. Please note that if a TIM or OpenFiber base firmware is used, the TTL will be silent after kernel loading because it is disabled at kernel level.
Here is the procedure to flash a custom firmware on the ONT via the U-Boot console:
- Attach the ONT via ethernet cable to your PC and configure it to have IP 192.168.1.2
- Launch TFTP server and place custom firmware inside its root folder renamed into
cramfs.img.crc. Be sure that the file has this name, otherwise the upgrade procedure will stop immediately - Run this command on U-Boot prompt:
9601D# upgdimage
start : 0x00200000 size :0x00700000
Using LUNA GMAC  device
TFTP from server 192.168.1.2; our IP address is 192.168.1.1
Filename 'cramfs.img.crc'.
Load address: 0x80400000
Loading: Got ARP REPLY, set server/gtwy eth addr (00:1c:c2:42:30:ac)
#################################################################
         #################################################################
         #################################################################
         #################################################################
         #################################################################
         #################################################################
         ###########################################################
done
Bytes transferred = 6582276 (647004 hex)
file size is 0x647004 from Env
RootFS CRAMFS size [0x647004] length [0x647004]
CRC32 for 80400000 ... 80a46fff ==> 382329fa
finish crc32, crc value is 0x382329fa
finish crc cmp!!!
ErasingStart: 0x200000 size:0x647004,alignment size:0x650000
Erasing 6619136 B from 00200000... 100% ~ 0084ffff/6619136 B
        [Done]
Writing 6619136 B from 80400000 to 00200000... 100% ~ 0084ffff/6619136 B
        [Done]
ImageA:
set activeimage imagea
saveenv
And flash image with the upgdimage.
ImageB:
set activeimage imageb
saveenv
And flash image with the upgdimage.
This way both slots will have the same firmware version and will avoid any swap by the OLT.
After these steps, power-cycle ONT and login via Telnet with root\admin credentials. From this moment you can simply spoof your ONT with the usual commands.
Change PLOAM password from the web UI
On some software versions, Password and Update Password fields are disabled and hidden even when using the admin account. They sometimes can be re-enabled via the browser’s developer console by editing the HTML code and setting:
- CSS display property to show (from none)
- HTML
disabled=trueattribute toenabled=true
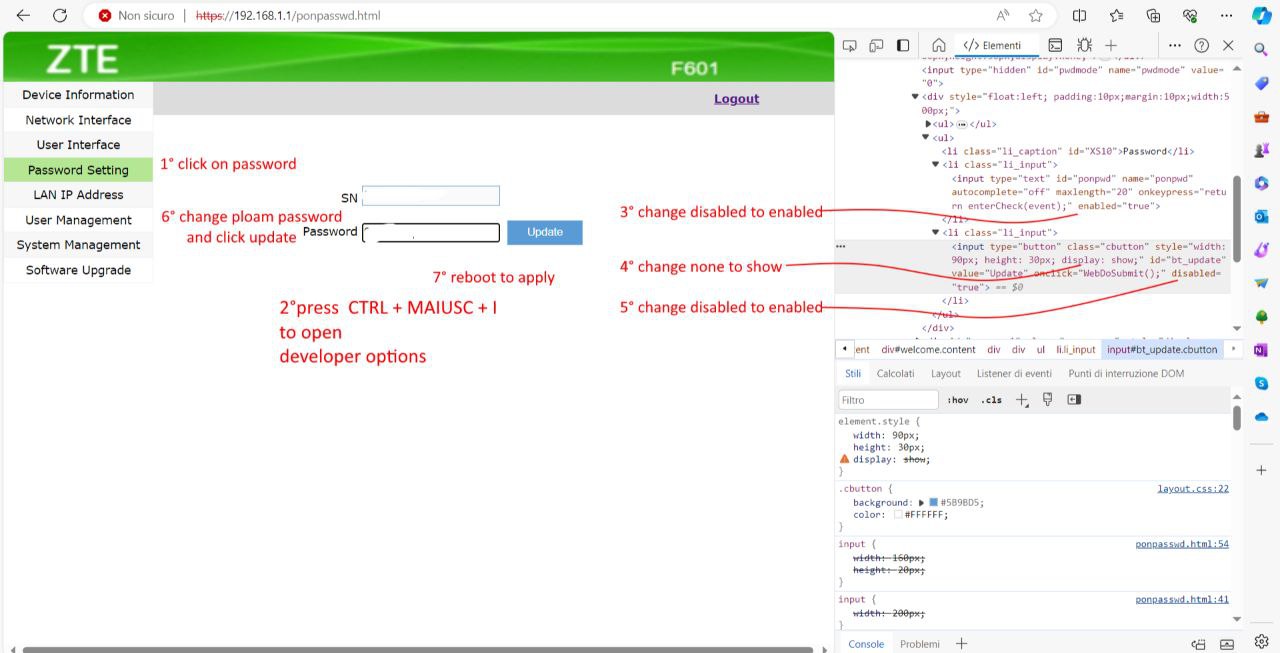
This has been tested on the following firmware versions:
- V6.0.10P2N19 (OpenFiber)
Known Bugs
The buffer size of the hardware is suboptimal: because of this the ONT is unable to work at full speed during uploads if the server is geographically and/or latency-wise far. There are no known problems if there is only one subscriber on the GPON tree. In versions V6.0.10N14 and V6.0.10P2N02 this problem is felt more than with newer firmware as in the new versions (V6.0.10N20, V6.0.10P2N18, V6.0.10P2N19), an attempt is made to avoid buffer filling by means of pause frames. Not all routers support pause frames and some may still suffer from problems with the latest updates.
In version V6.0.10P2N18, problems were found in download speeds with 1 Gbps links.